Widgets
Widgets are small blocks you drop into the widget areas of the site. Monst shows two widget areas, both in the footer.
Go to Admin -> Appearance -> Widgets
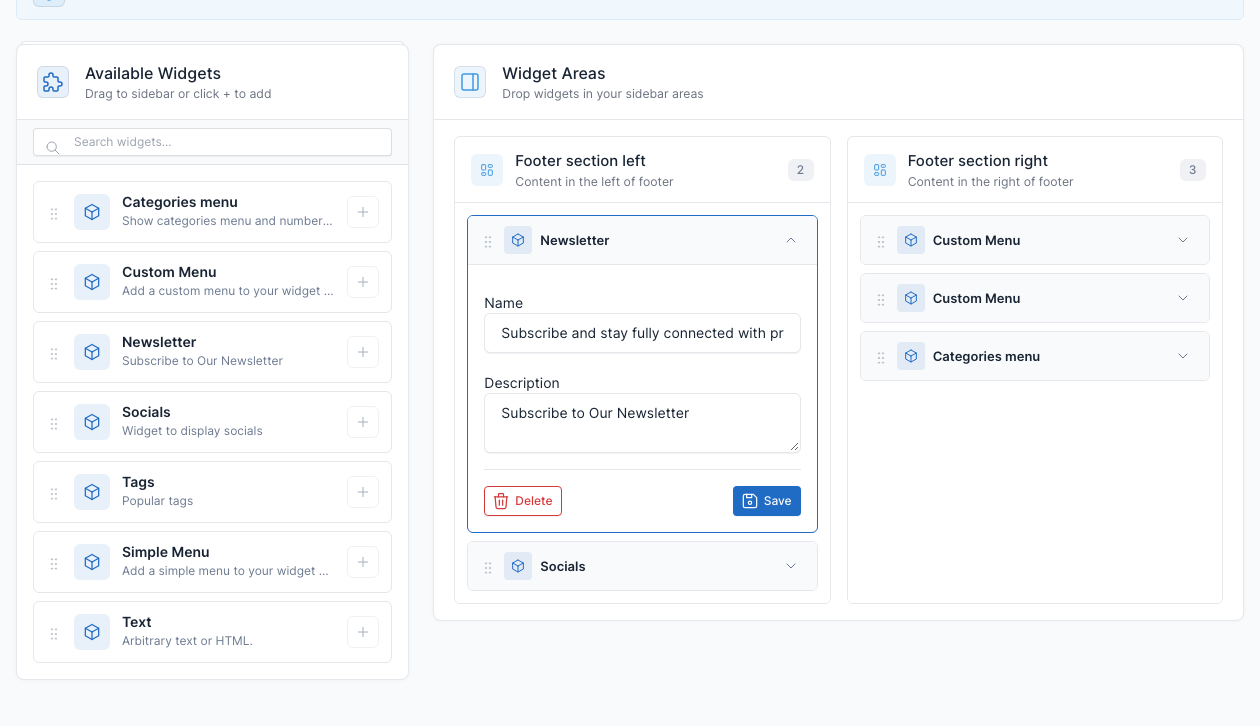
On the left are the Available Widgets. On the right are the Widget Areas. Drag a widget into an area (or click the + button of the widget and choose an area), then open it with the arrow to fill in its fields and click Save. To remove a widget, open it and click Delete.
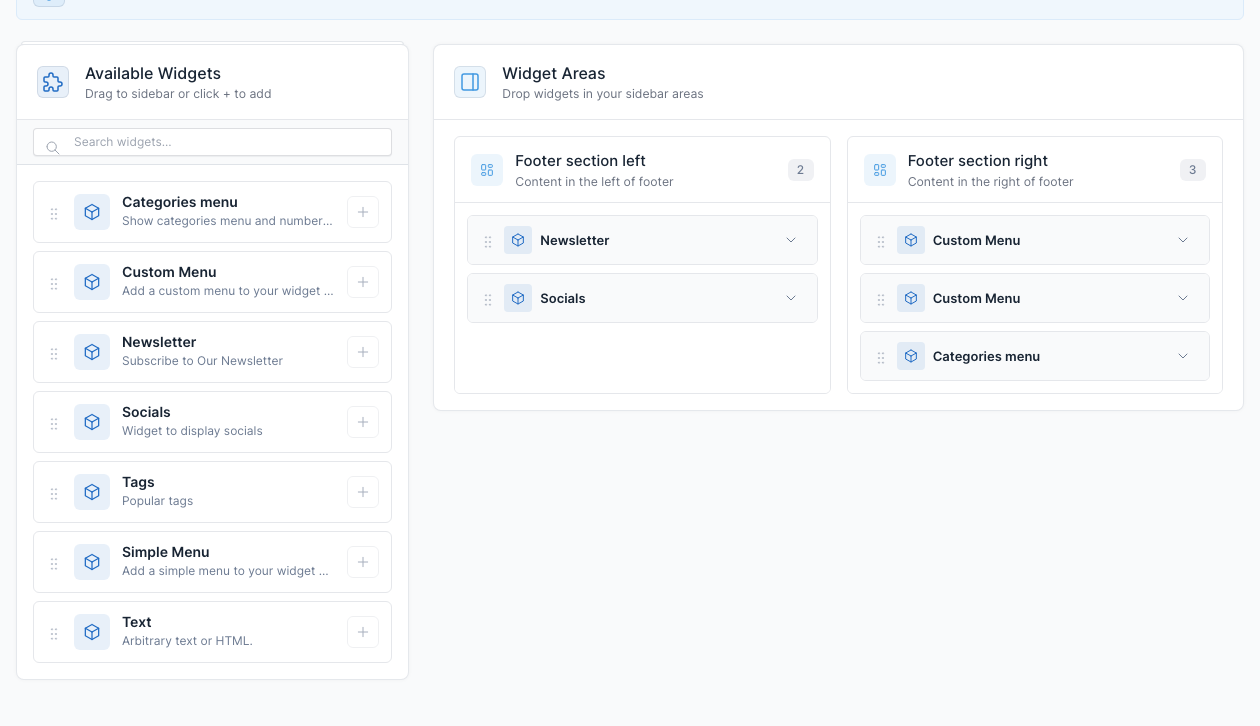
Click a widget in an area to open its settings:
When the site has more than one language, each language has its own widgets. Use the Translations link at the top of the Widget Areas to edit the other language. See Translate.
Widget areas
| Area | Where it shows | Demo content |
|---|---|---|
Footer section left (footer_sidebar_1) | Left half of the footer, under the logo. | Newsletter, Socials |
Footer section right (footer_sidebar_2) | Right half of the footer. | Categories menu (titled "Blog"), Custom Menu "About", Custom Menu "Quick links" |
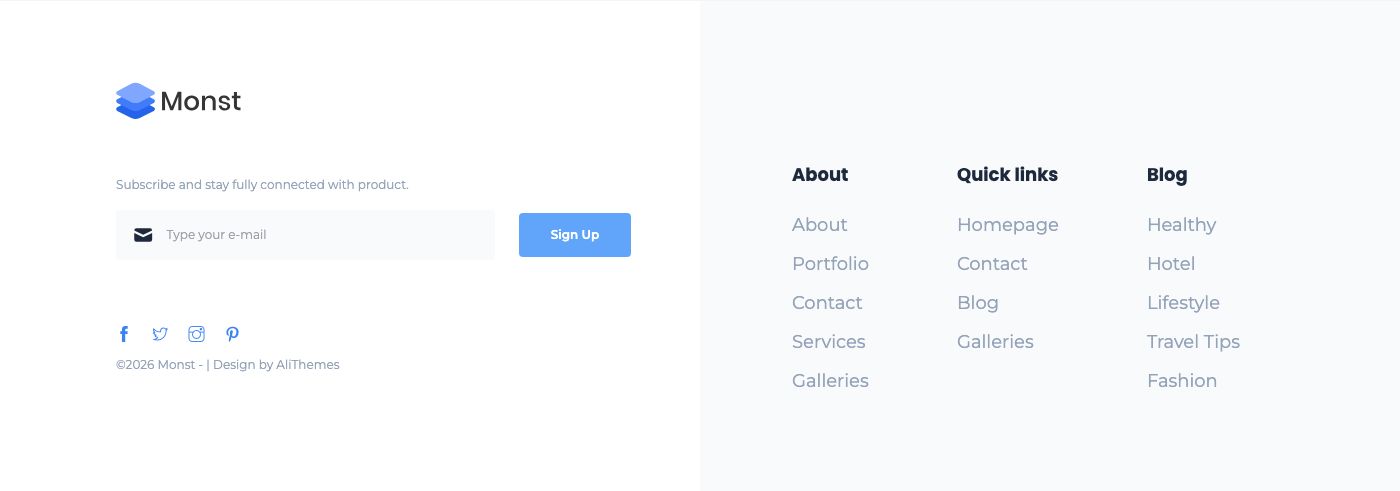
Available widgets
| Widget | What it shows |
|---|---|
| Categories menu | A column with the 5 most popular blog categories. The Name is the column title. |
| Custom Menu | A titled column of links from a menu you choose. |
| Newsletter | A subscribe form that feeds the Newsletter plugin (see Newsletter). The Name is the text above the form; the Description is not shown. |
| Socials | Your social links from Theme options -> Social links. |
| Tags | The most popular tags. Set the title and the number of tags. |
| Simple Menu | A plain list of links from a menu (CMS core). |
| Text | Free text or HTML (CMS core). |
Add a widget to the footer
- Open Admin -> Appearance -> Widgets.
- Find the widget in Available Widgets.
- Drag it into Footer section right (or left), or click the + button and pick the area.
- Open the widget, fill in its fields and click Save.
- Reload the page on the front end to see it.