Installation
Install with the Installer UI
Watch the video tutorial to see how to install Monst with the installer UI:
You can install Monst with the installer UI by following these steps:
- Create database and extract source codes into your web root directory.
- Generate a unique application key for your site by running
php artisan key:generatein the extracted folder. If your hosting has no SSH access, run it from the terminal in your hosting panel, or ask your hosting provider to run it for you. - Go to
[your-domain.com]to start installation. - Step by step to set up your database connection, site information and administrator.
- Login and set up your website on Welcome Board.
Manually
Watch the video tutorial to see how to install Monst manually:
You can install Monst manually by following these steps:
Upload all files into the root folder of your hosting (normally, it is
public_html).Create a database and import data from
database.sql(it's located in source code). This file contains full demo data matching the demo site.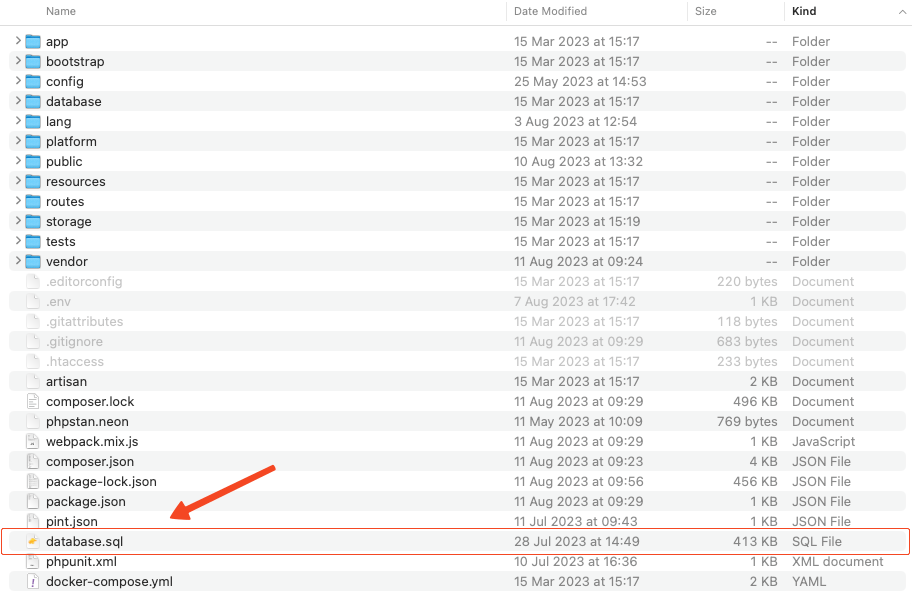
Update your database credentials and
APP_URLin.env. On a live site also setAPP_DEBUG=false, so errors are not shown to visitors.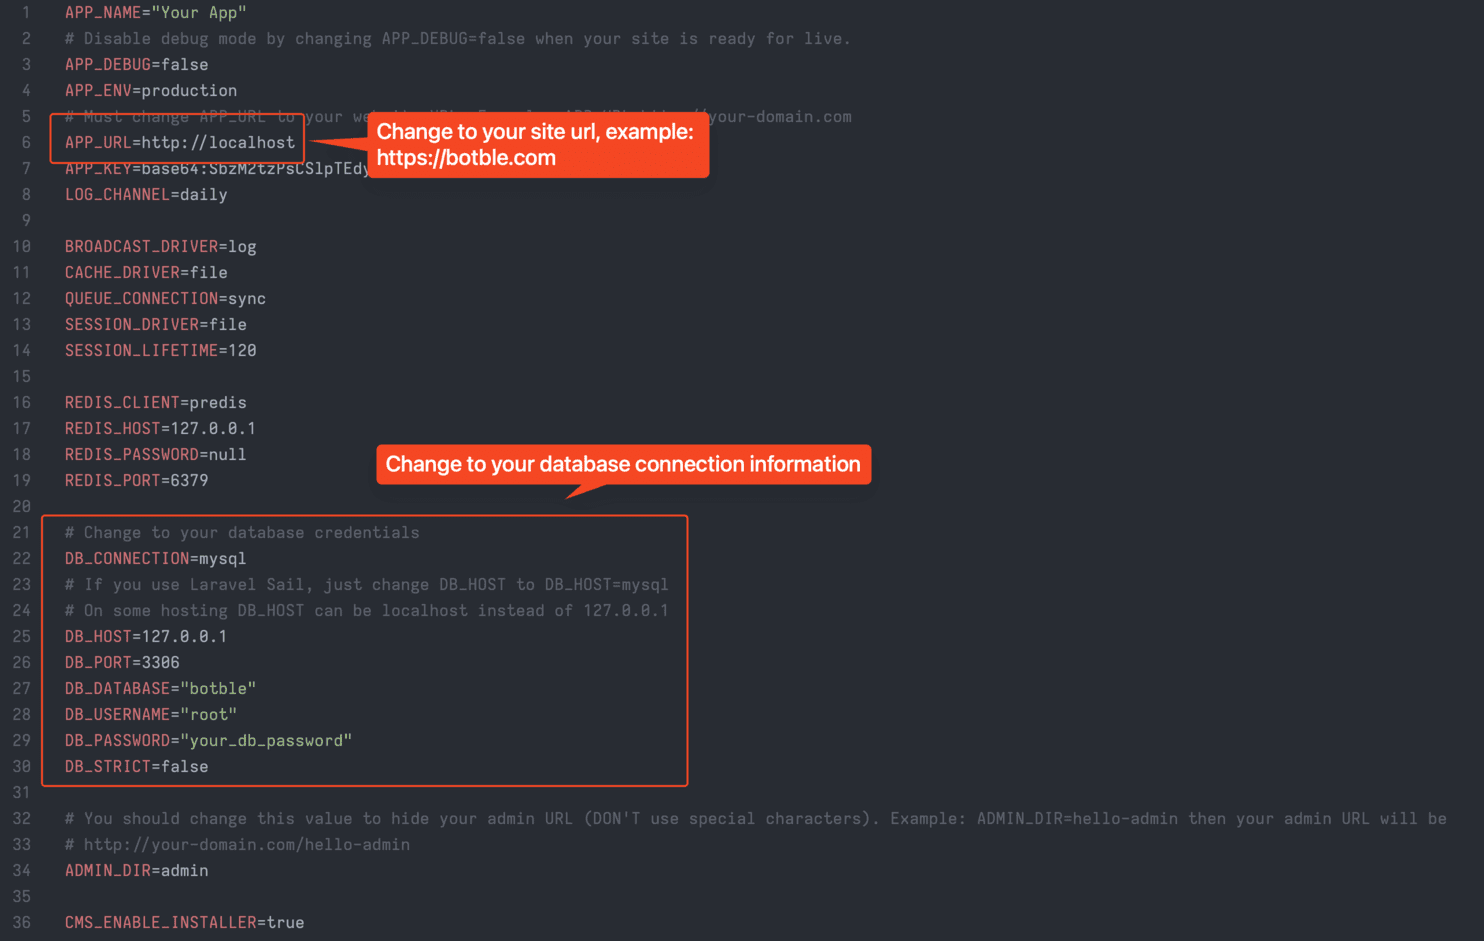
Generate a unique application key for your site by running
php artisan key:generate. If your hosting has no SSH access, run the command from the terminal in your hosting panel, or ask your hosting provider to run it for you.Go to
/adminto access to admin panel.The default admin account is
admin-12345678.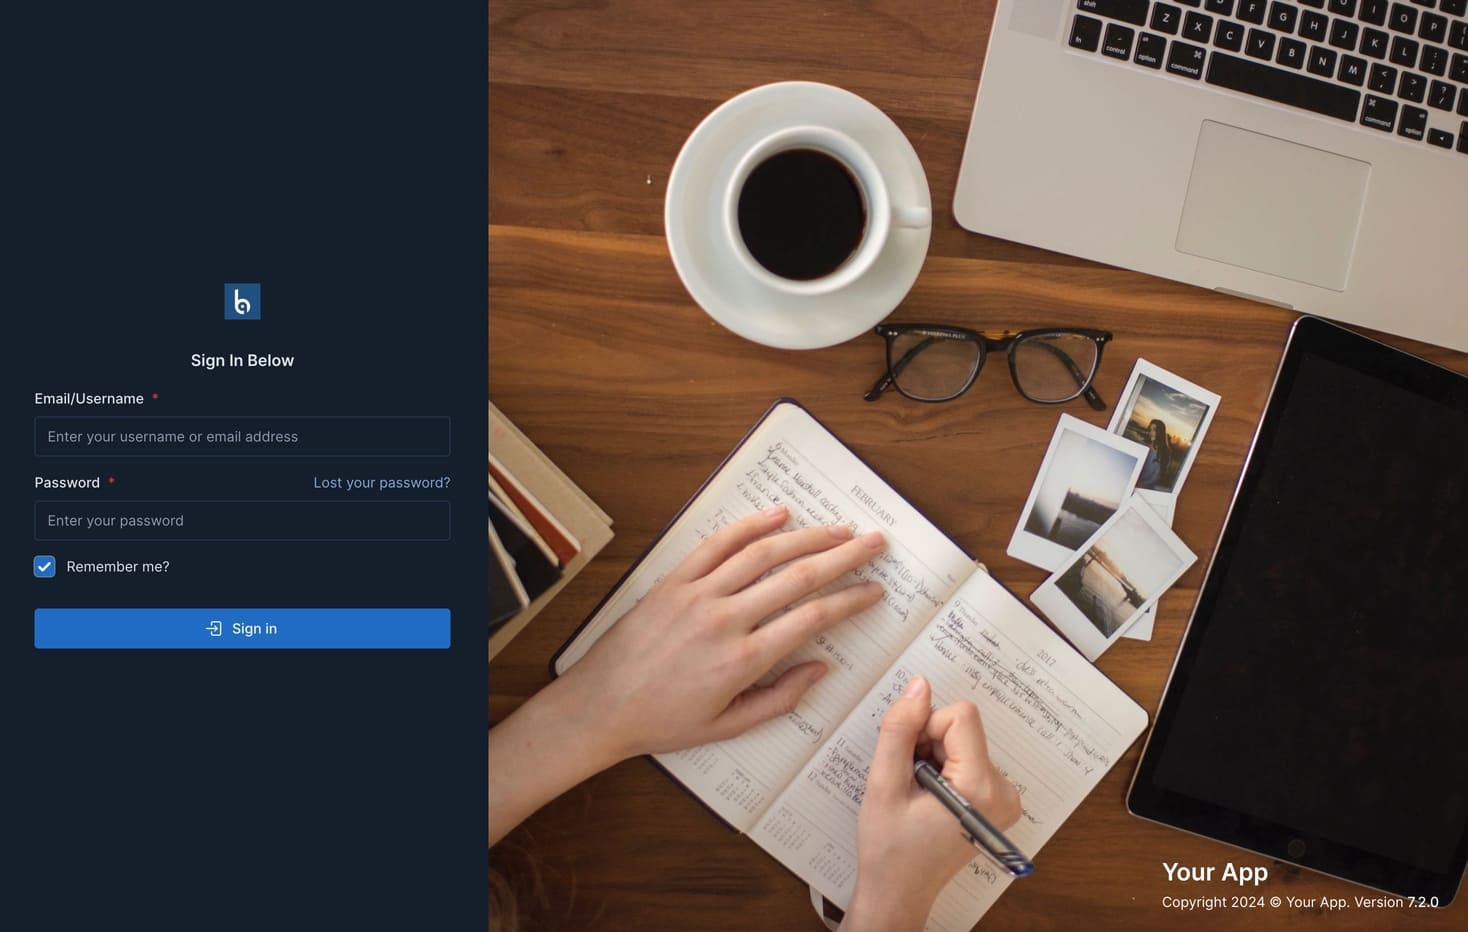
Install in a sub-folder
WARNING
Since Monst is based on the Laravel framework, its root folder is /public. If you're installing it in a sub-folder, you'll need to access your-domain.com/sub-folder/public. To remove /public from the URL, follow the steps in the provided video tutorial.
TIP
For Laravel developers looking to customize the source code in platform/core and platform/packages, delete the /vendor folder, and then run the composer install command to reinstall vendor packages.