Contact Form
Introduction
The Contact Form plugin for Thesky9 CMS provides a flexible and customizable contact form that you can easily add to your website. It includes features like email notifications, custom fields, and spam protection.
Basic Usage
Using the Shortcode
The simplest way to add a contact form to your website is by using the contact-form shortcode. You can add it to any page content in the admin panel:
[contact-form][/contact-form]Or you can add it directly in any Blade view:
{!! do_shortcode('[contact-form][/contact-form]') !!}Shortcode Parameters
The contact form shortcode supports several parameters to customize its behavior:
[contact-form display_fields="name,email,phone,address,subject" mandatory_fields="name,email" view="custom.view"][/contact-form]- display_fields: Comma-separated list of fields to display (default: "phone,email,address,subject")
- mandatory_fields: Comma-separated list of fields that are required (default: "email")
- view: Custom view path to override the default form template
Customizing the Form
Using a Custom View
You can create a custom view for your contact form by specifying the view parameter in the shortcode:
[contact-form view="theme.your-theme::partials.contact-form"][/contact-form]Create a file at /platform/themes/your-theme/views/partials/contact-form.blade.php with your custom form markup. The simplest custom view would be:
{!! $form->renderForm() !!}This will render the form using the Form Builder with all the default fields and validation.
Customizing Form Fields in the Admin Panel
You can customize which fields are displayed and which are required directly in the admin panel when adding the shortcode to a page. In the page editor:
- Click the "Shortcode" button in the editor toolbar
- Select "Contact form"
- In the shortcode configuration panel, you can:
- Select which fields to display
- Select which fields are mandatory
- Click "Add shortcode" to insert it into your content
Adding Custom Fields
The Contact Form plugin supports custom fields that you can add through the admin panel:
- Go to Contact → Custom Fields
- Click Create to add a new custom field
- Configure the field:
- Name: The label for the field
- Type: Choose from Text, Email, Number, Textarea, Checkbox, Select, Radio, etc.
- Required: Whether the field is mandatory
- Order: The display order of the field
- Save the custom field
Custom fields will automatically appear in your contact form.
Form Submission and Notifications
Email Notifications
When a contact form is submitted, email notifications are sent to:
- Admin: The site administrator receives a notification with all the form data
- Sender: The person who submitted the form receives a confirmation email
You can configure these email templates in Settings → Email → Templates → Contact.
Configuring Recipients
To configure who receives contact form submissions:
- Go to Settings → Contact
- Add email addresses to the Recipient emails field
- Save changes
Spam Protection
The Contact Form plugin includes several spam protection features:
- Blacklist Keywords: You can add keywords to block in form submissions
- Blacklist Email Domains: You can block submissions from specific email domains
- CAPTCHA Integration: If the CAPTCHA plugin is active, you can enable CAPTCHA for contact forms
Configure these settings in Settings → Contact.
Advanced Usage
Accessing Contact Form Submissions
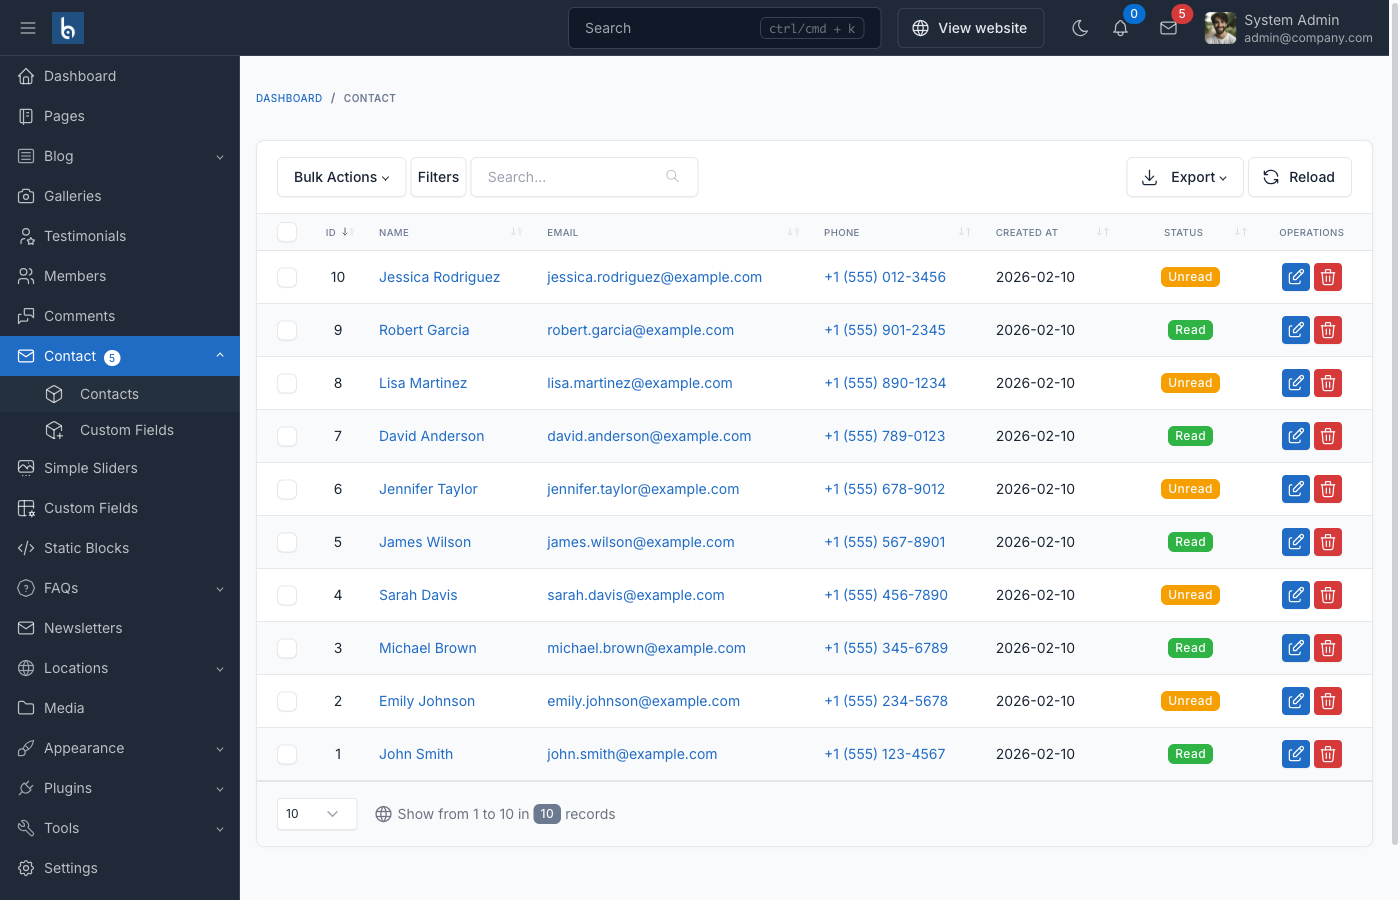
All contact form submissions are stored in the database and can be accessed in the admin panel:
- Go to Contact → Contacts
- View, filter, and manage all submissions
- Reply to contacts directly from the admin panel
Programmatically Creating a Contact Form
You can programmatically create a contact form in your theme or plugin:
use Botble\Contact\Forms\Fronts\ContactForm;

$form = ContactForm::createFromArray([
    'display_fields' => 'name,email,phone,subject',
    'mandatory_fields' => 'name,email',
]);

echo $form->renderForm();
Handling Form Submission Events
You can listen for contact form submission events in your theme or plugin:
// In a service provider
Event::listen(\Botble\Contact\Events\SentContactEvent::class, function ($event) {
    $contact = $event->contact;

    // Do something with the contact data
    // For example, integrate with a CRM
    // $contact->name, $contact->email, $contact->content, etc.
});
Styling the Contact Form
The contact form includes basic styling, but you can customize it to match your theme:
CSS Classes
The main form has the class contact-form. You can target this class in your CSS to style the form:
.contact-form {
    /* Your custom styles */
}

.contact-form .form-group {
    margin-bottom: 20px;
}

.contact-form .contact-button {
    background-color: #your-color;
    color: #fff;
}
JavaScript Integration
The contact form includes JavaScript for AJAX submission and validation. The form submission is handled by contact-public.js, which you can override in your theme if needed.
Best Practices
- Keep it Simple: Only include the fields you actually need
- Clear Labels: Use clear, concise labels for form fields
- Validation Messages: Customize validation messages to be helpful
- Thank You Message: Configure a clear thank you message after submission
- Responsive Design: Ensure your form looks good on all devices